
Diy canvas beach bag: step-by-step guide
123
Introduction
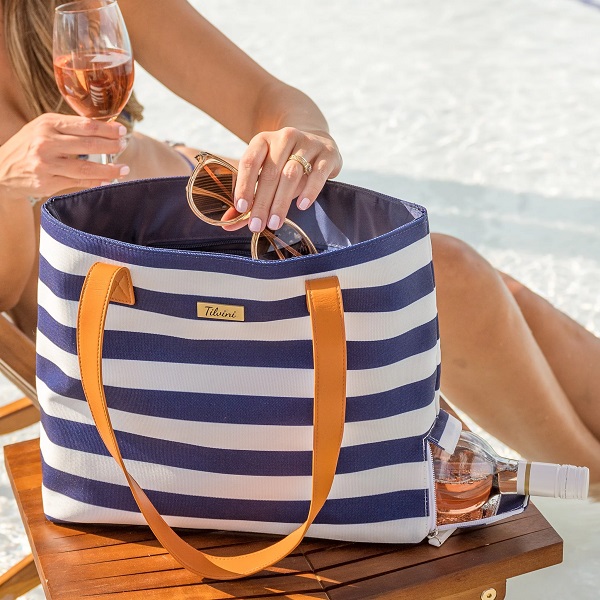
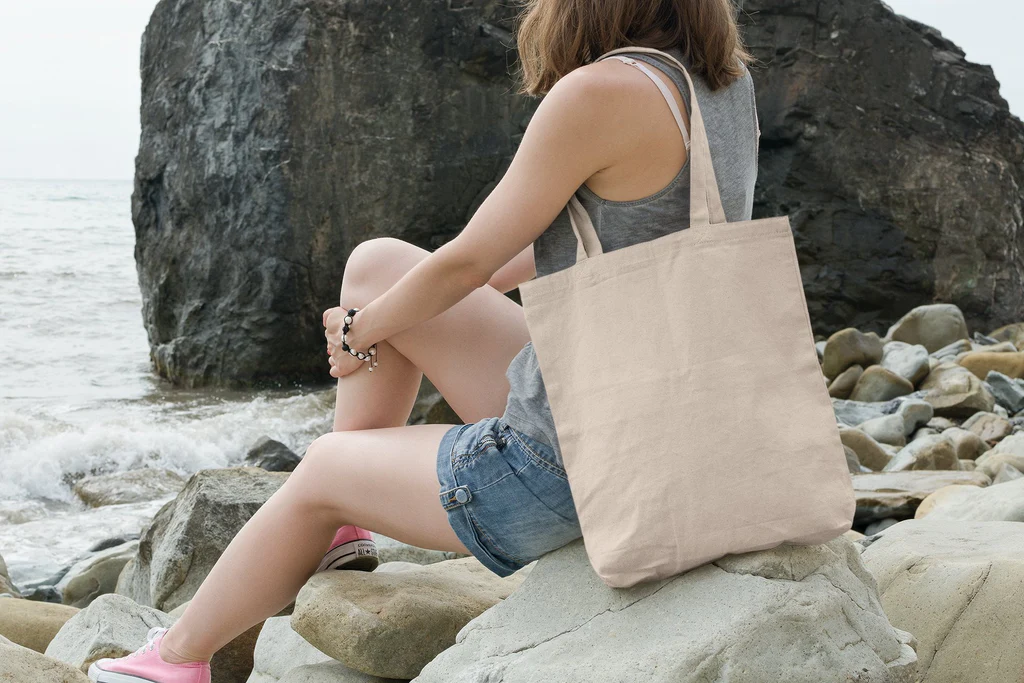
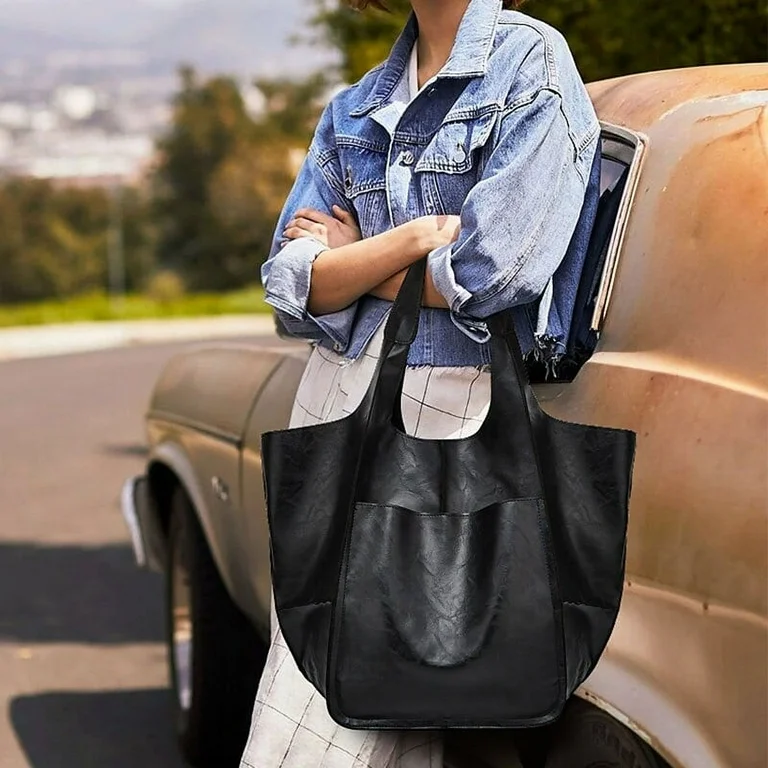
A canvas beach bag is an essential accessory for beach trips, casual outings, and everyday shopping. Instead of purchasing a ready-made one from the store, why not create your own DIY canvas beach bag? This is not only cost-effective but also allows you to customize the design and size according to your preferences. Moreover, making your own canvas bag is an Eco-friendly alternative to plastic bags, reducing waste while showcasing your creativity.
This guide will take you through the entire process of making a durable and stylish canvas beach bag, from selecting materials to adding functional designs and decorative details. Whether you’re a beginner or a DIY enthusiast, this step-by-step tutorial will help you craft a one-of-a-kind tote bag.
Part 1: Materials and Tools Needed
Choosing the Right Canvas Material
The type of canvas you choose will determine the durability and style of your tote bag. Consider these options:
Standard Cotton Canvas – Soft, breathable, and easy to work with.
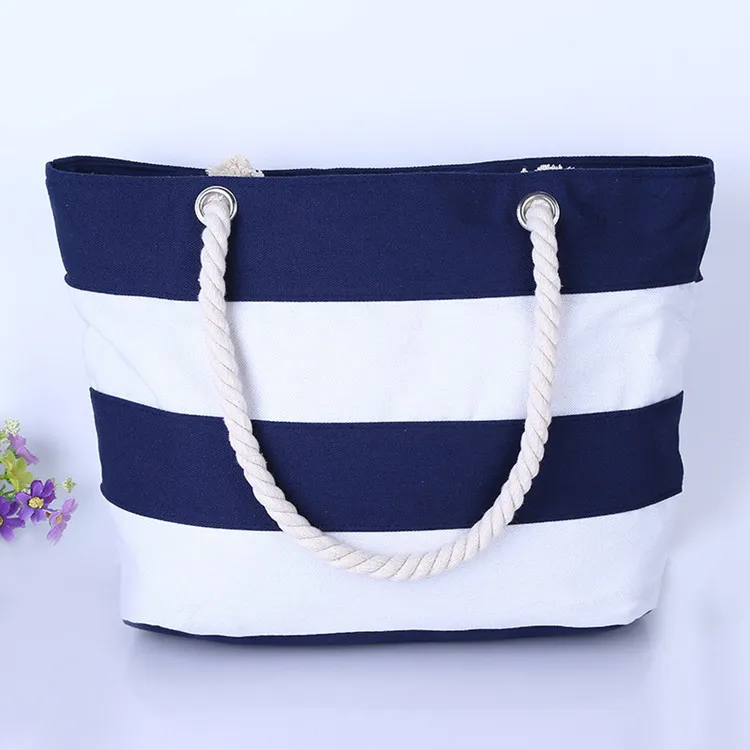
Waterproof Canvas – Ideal for beach bags, as they repel water and moisture.
Recycled or Organic Canvas – A sustainable choice for eco-conscious individuals.
Essential Tools and Supplies
To ensure a smooth crafting process, prepare the following tools:
Fabric scissors or rotary cutter, measuring tape and ruler, sewing machine (or needle and thread for hand sewing), pins or fabric clips, iron (to press seams for a professional finish), fabric chalk, or washable marker.
Optional Decorative Materials
Fabric paint and brushes (for hand-painted designs), embroidery thread (for custom patterns), tassels, beads, or appliqués (to add unique embellishments).
Part 2: Cutting, Preparing, and Sewing the Fabric
Determining the Bag Size
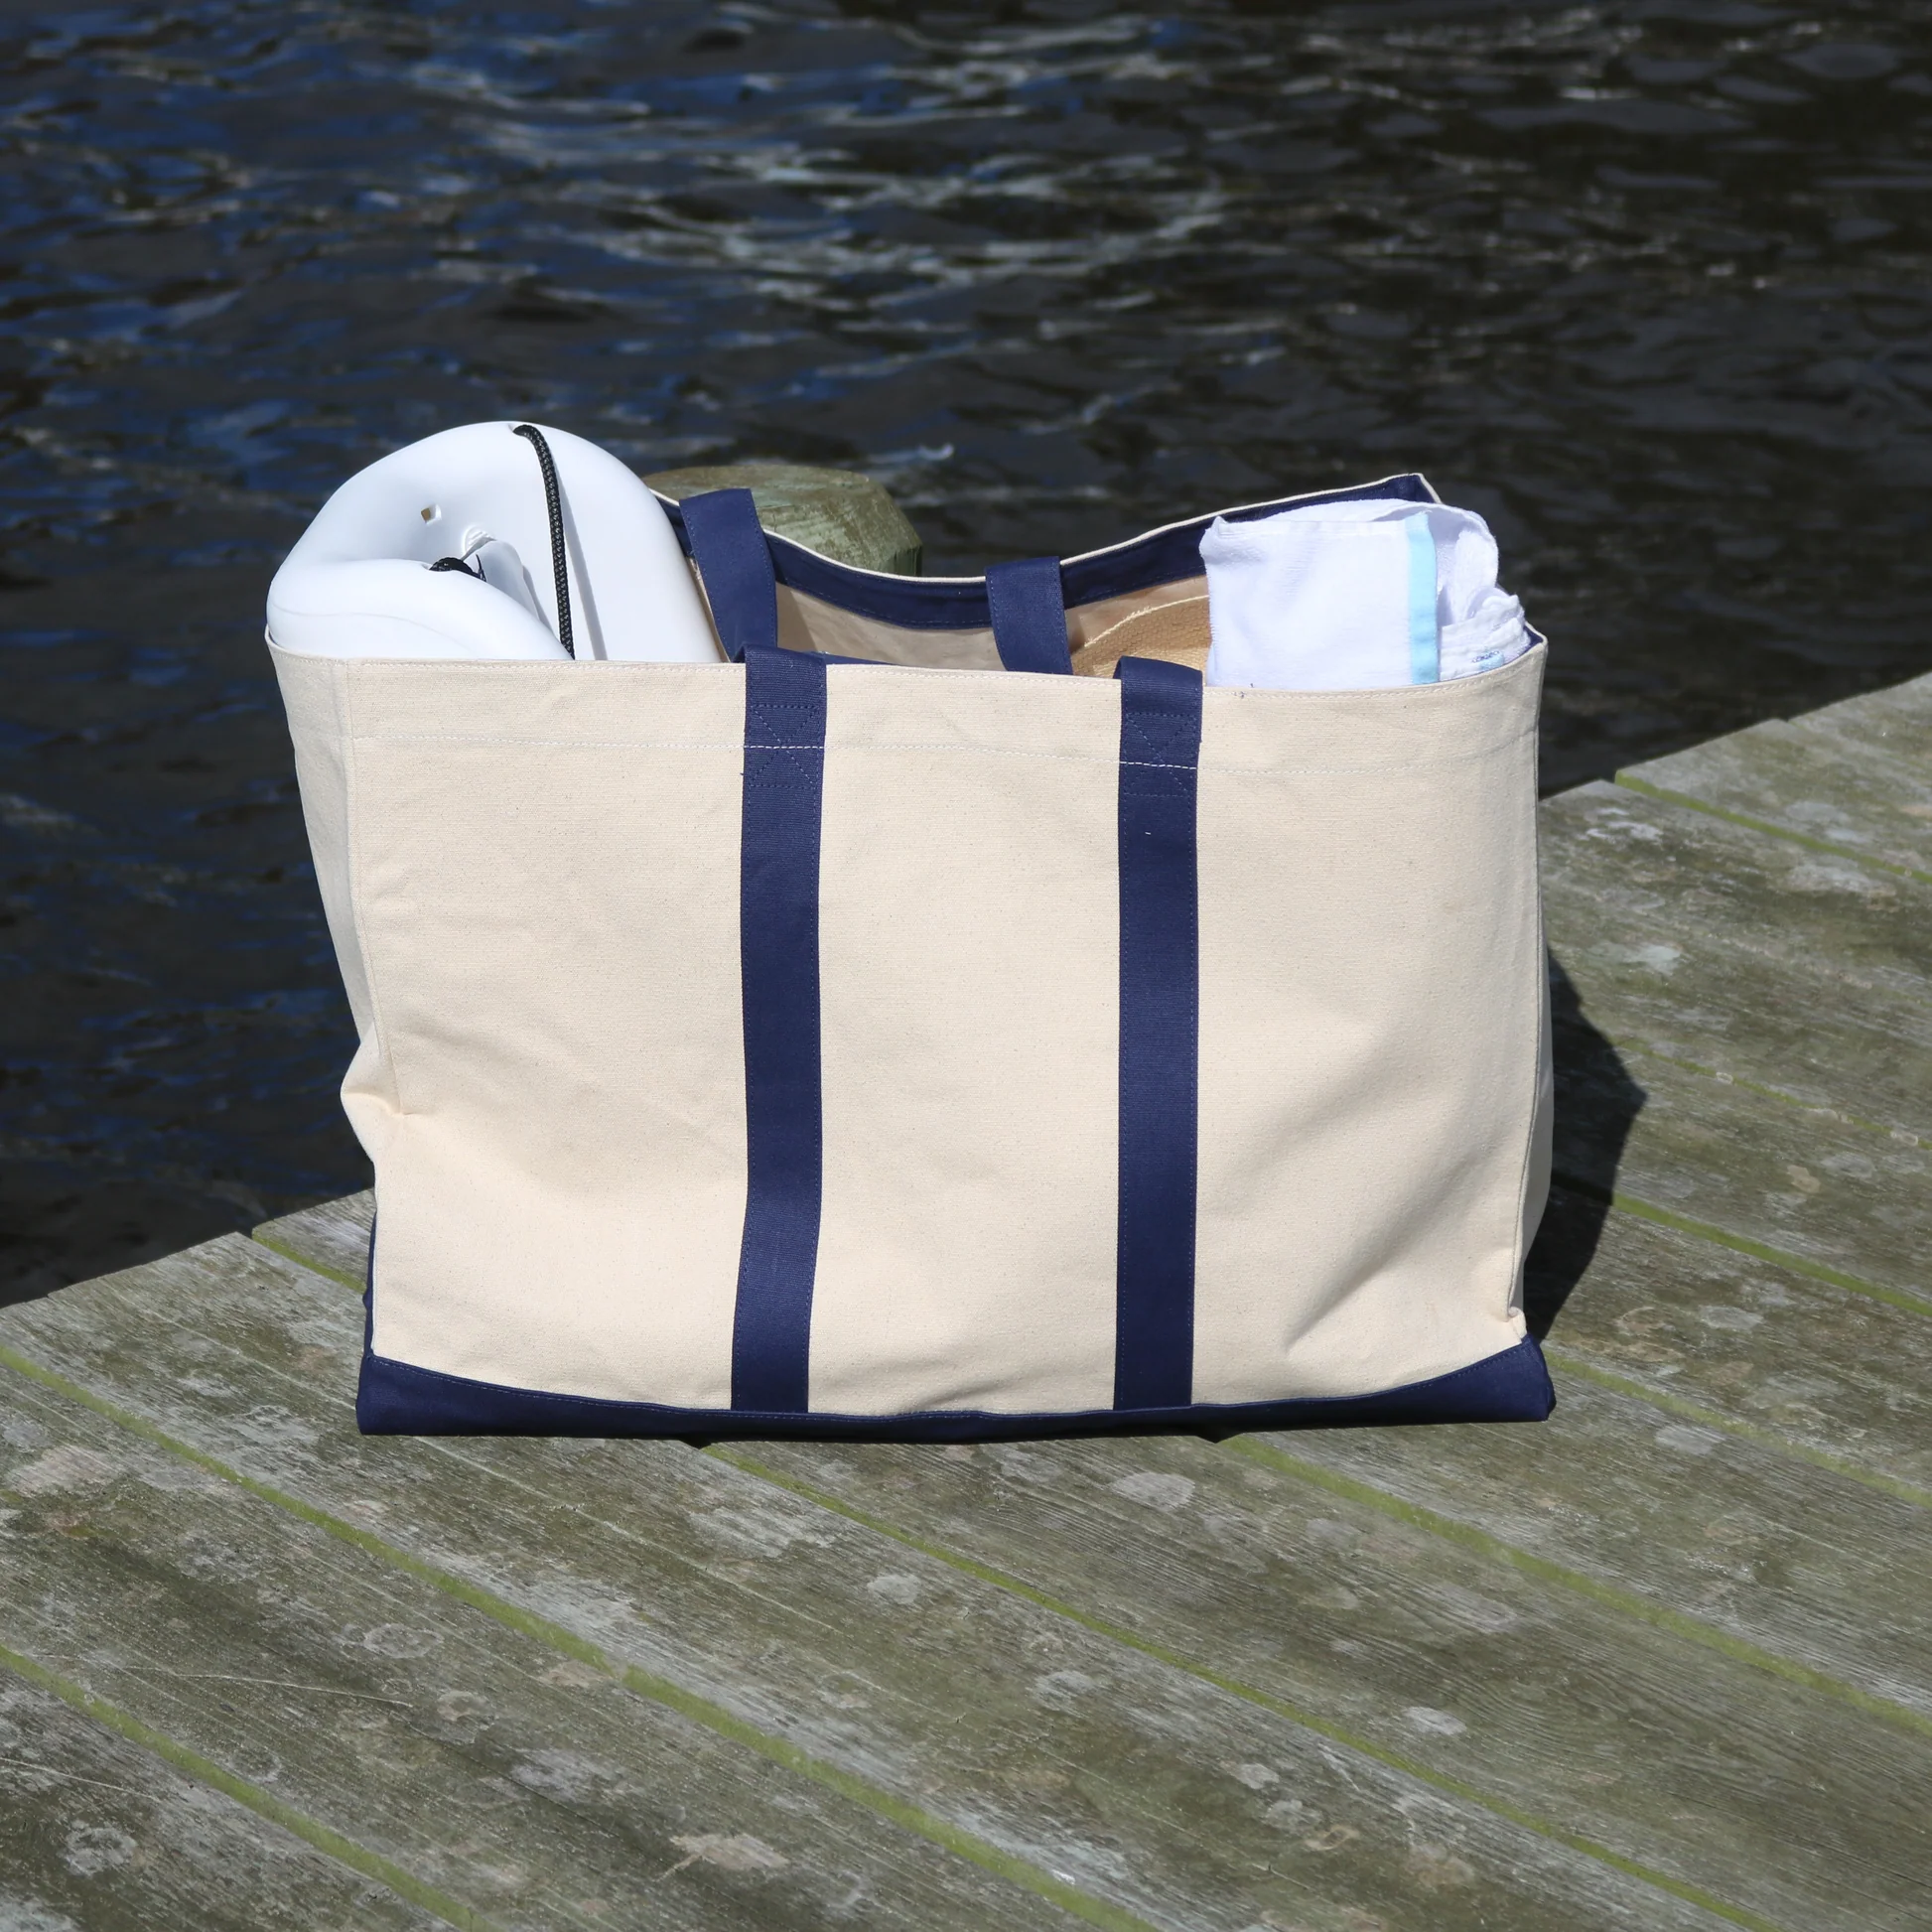
The standard tote bag size is 18 inches wide × 14 inches high × 5-inch bottom, but you can adjust it based on your needs.
Cutting the Fabric
Main Bag Body: Cut two identical rectangular pieces of canvas (based on your desired size).
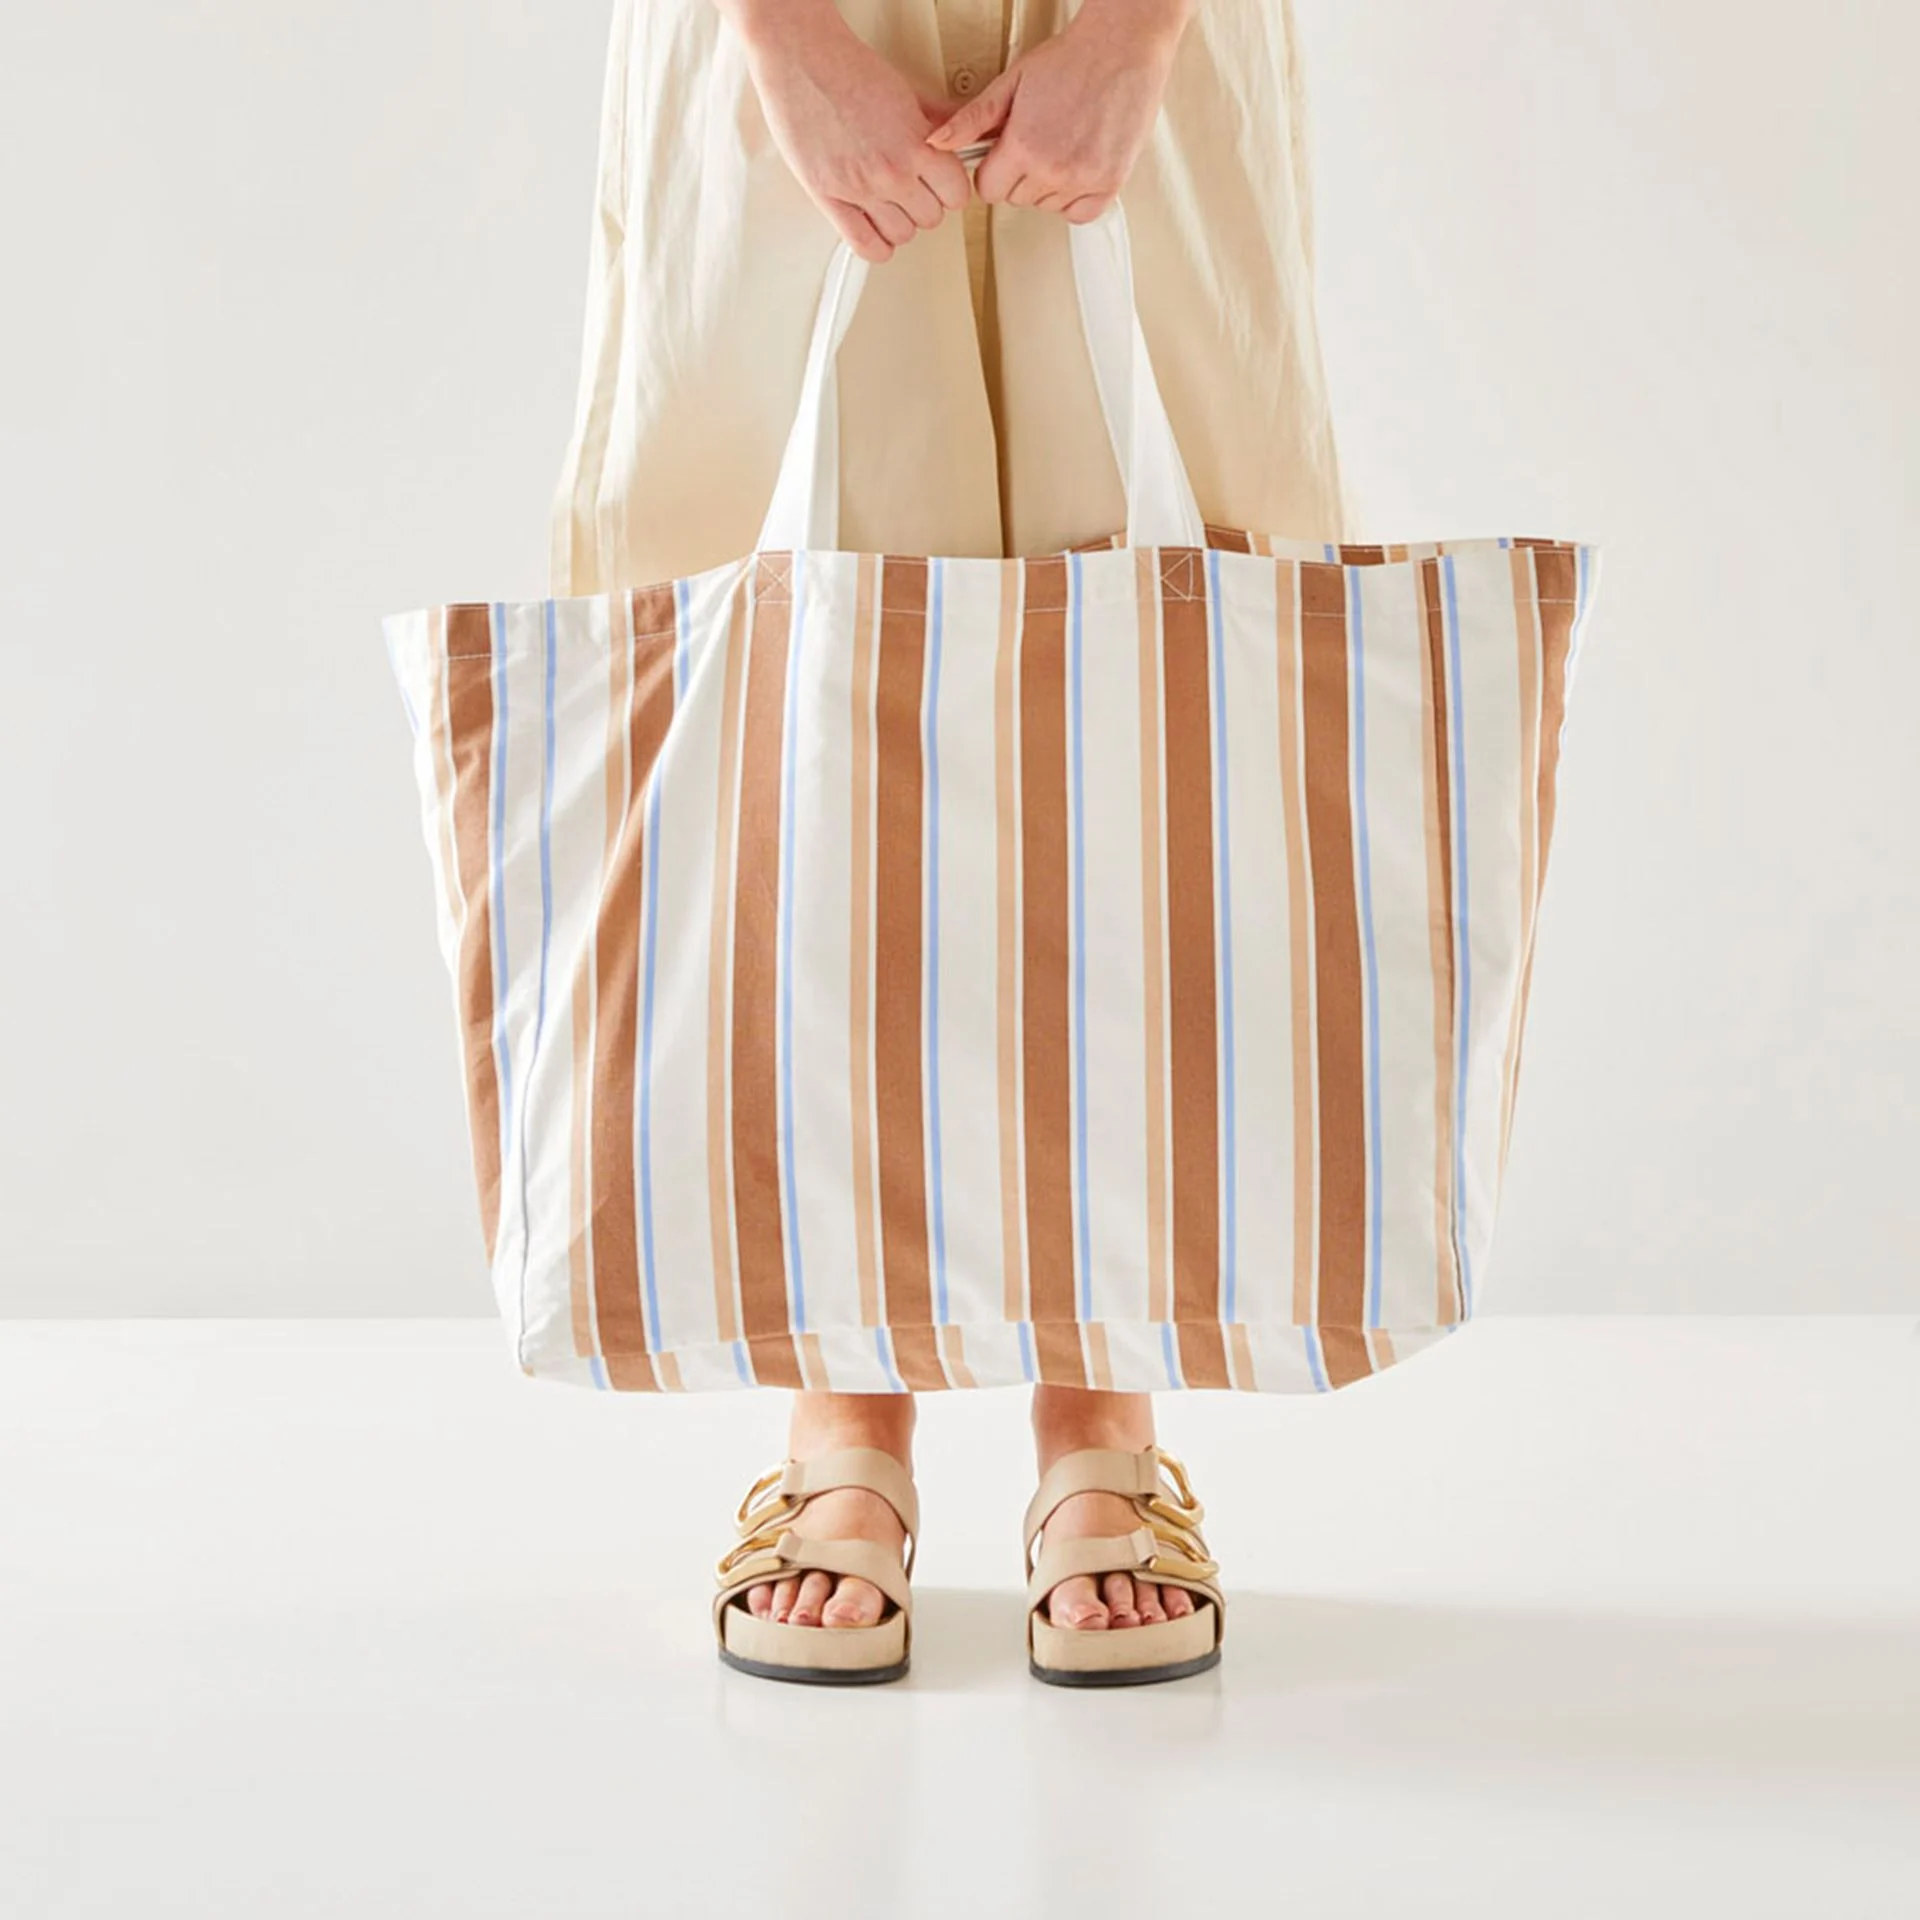
Handles: Cut two fabric strips, approximately 24 inches long and 1.5 inches wide.
Bottom Reinforcement : If you want a sturdier bottom, cut an extra rectangular piece for reinforcement.
Ironing and Preparing the Fabric
Iron the fabric to remove wrinkles and ensure smooth sewing. Fold and press the edges of the handle strips to make them neat and easy to sew.
Sewing the Main Bag Body and Bottom
Place the two fabric pieces together, with the right sides facing inward, and sew along the sides and bottom, leaving the top open. Use double stitching or French seams to enhance durability. To create a flat-bottom design, fold the bottom corners and sew across, forming a triangular gusset. This helps the bag stand upright and hold more items.
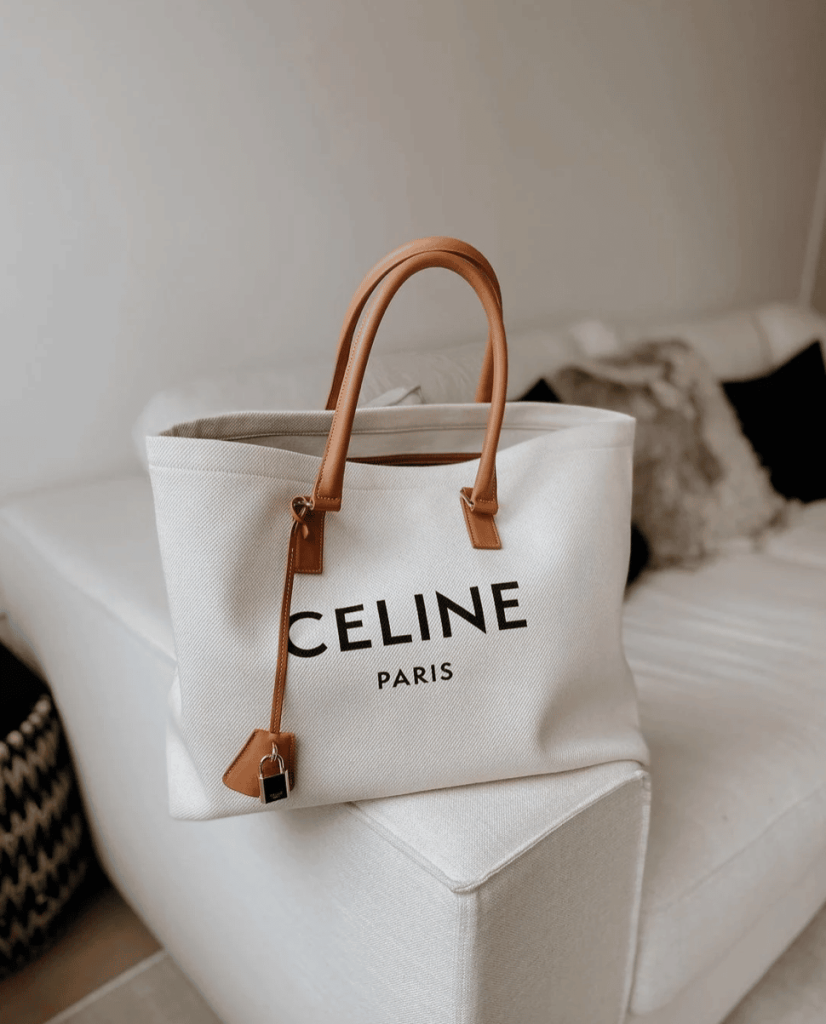
Attaching the Handles
Fold and sew the handle strips to prevent fraying. Position them 5 inches from the bag opening and ensure they are aligned evenly. Use an X-shaped reinforcement stitch to secure them, increasing their weight-bearing capacity.
Tips and Considerations
When sewing, use pins or clips to hold the fabric in place and ensure the edges align correctly. Avoid stretching the fabric while sewing to prevent distortion. Use thick thread, especially for reinforcement areas, and sew multiple times for added strength. If using a sewing machine, adjust the stitch length appropriately to prevent fabric puckering or loose stitches.
Part 3: Adding Functional Features
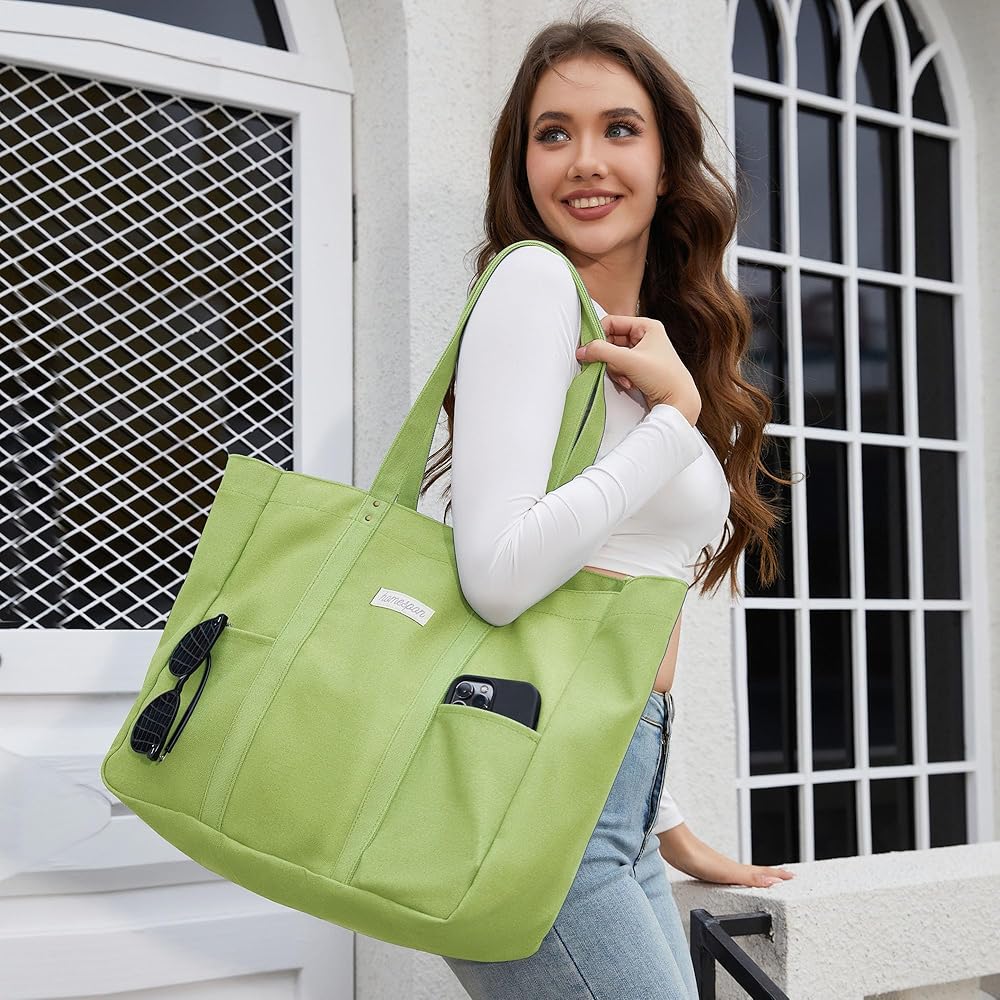
Adding Pockets
Cut a smaller rectangular fabric piece and sew it inside the bag for extra storage. You can also add an exterior pocket for easy access to sunscreen, sunglasses, or other essentials.
Installing a Zipper or Magnetic Closure
For added security, sew a zipper or magnetic snap at the top. Use a zipper foot attachment on your sewing machine for a smooth finish.
Waterproof Lining
Line the inside of the bag with waterproof fabric to keep the contents dry and prevent sand from getting in.
Tips and Considerations
When attaching a zipper, pin it in place first to ensure alignment before sewing. If installing magnetic snaps, reinforce the fabric with an extra layer to prevent tearing over time. For waterproof linings, choose a lightweight but durable material to avoid adding unnecessary bulk.

Part 4: Personalizing and Decorating
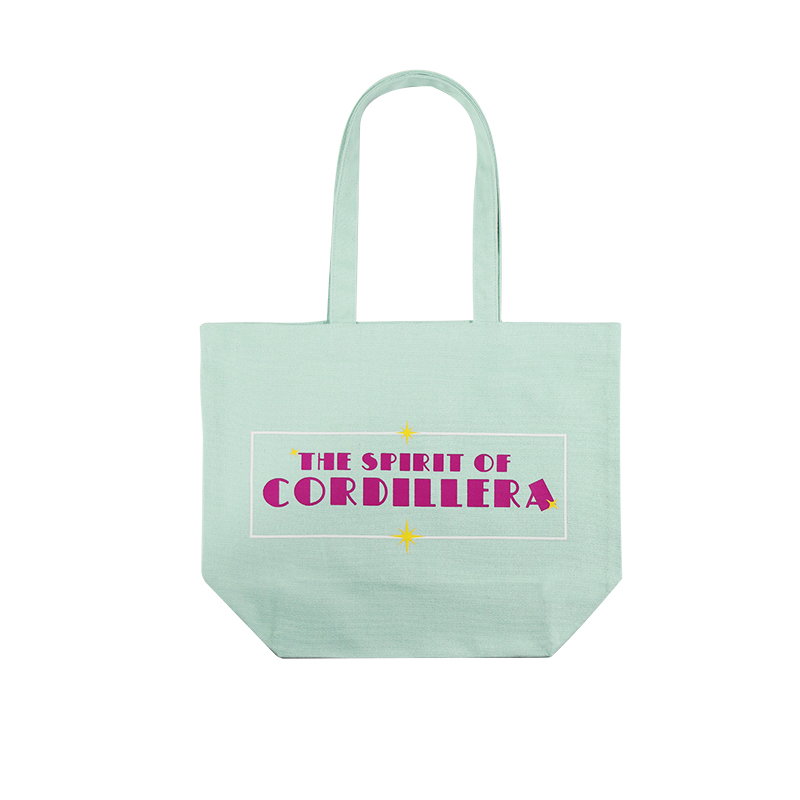
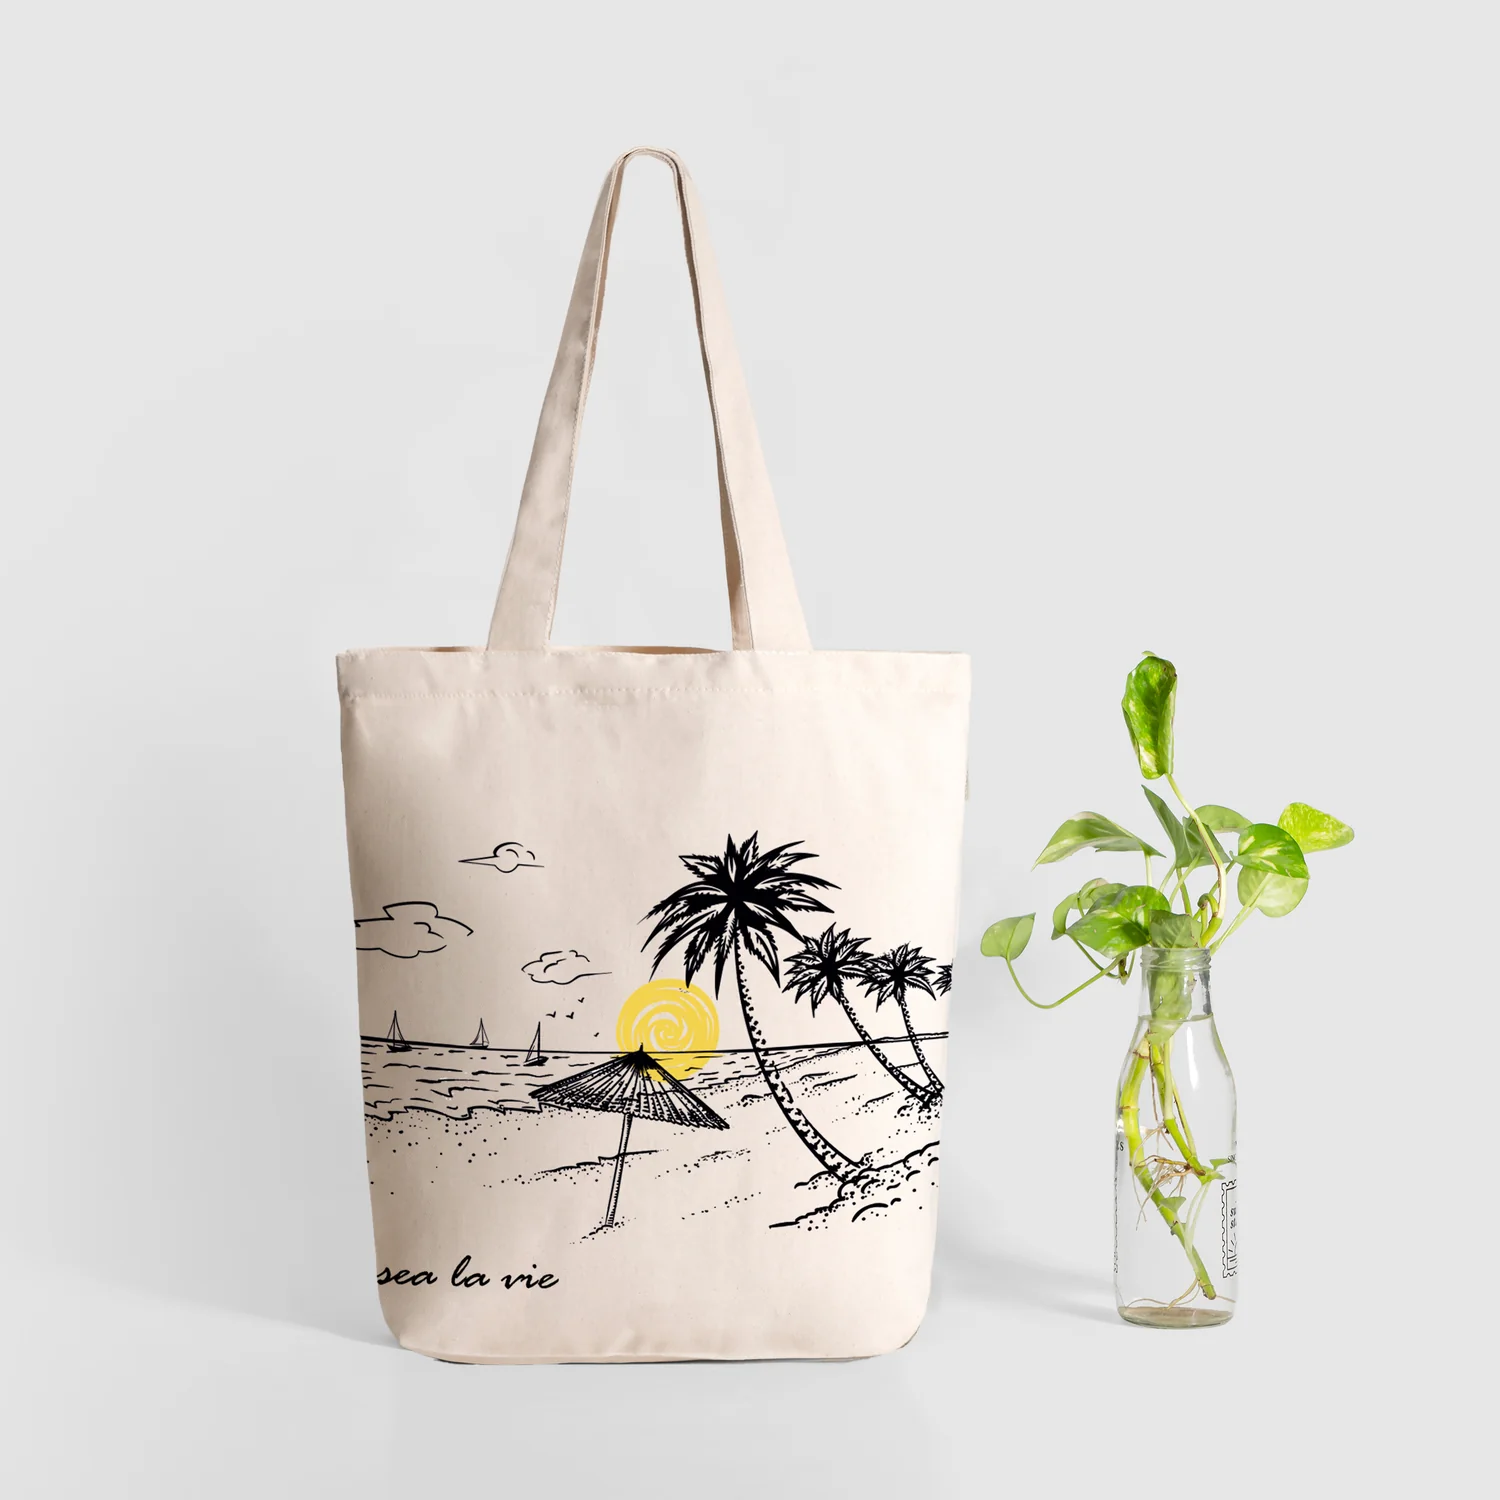
Hand-Painted Designs
Use fabric-safe paint to create beach-inspired patterns such as waves, palm trees, or seashells. Allow the paint to dry completely before using the bag.
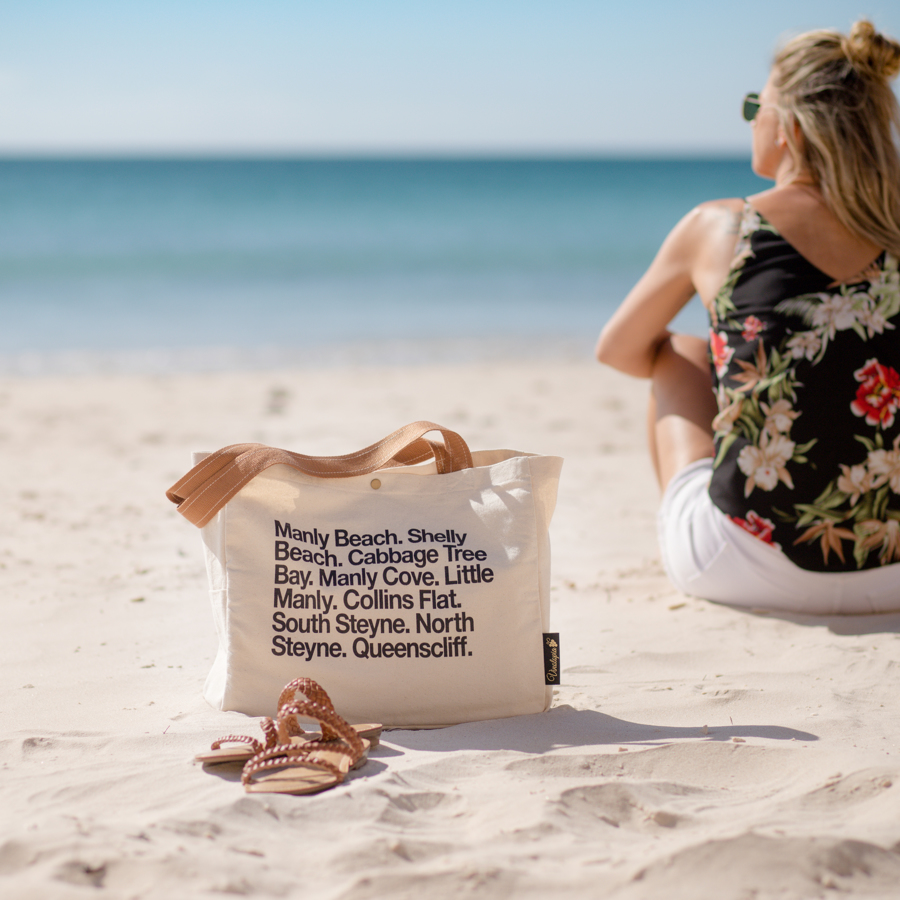
Embroidery and Stitching Designs
Hand-embroider letters, beach quotes, or floral patterns onto the bag to enhance its aesthetic appeal.
Adding Tassels and Embellishments
Sew tassels onto the handles or attach beads to create a bohemian style. You can also use appliqués or fabric patches to make your tote bag even more unique.
Conclusion: Final Adjustments and Care Tips
How to Maintain Your DIY Canvas Beach Bag
To extend the lifespan of your bag, follow these care instructions:
Spot Cleaning: Wipe off stains with a damp cloth and mild detergent.
Hand Washing: If a full wash is needed, hand wash in lukewarm water and air dry.
Avoid Harsh Chemicals: Bleach and strong detergents may damage the fabric.
Proper Storage: Store in a dry place to prevent mold and mildew.
Future DIY Project Ideas
Once you’ve mastered the basics of making a tote bag, try experimenting with:
Foldable travel tote bags for easy storage.
Multi-pocket organizer tote bags for work or shopping.
Patchwork designs using recycled fabric for a one-of-a-kind look.
By following this tutorial, you’ve not only created a practical and stylish tote bag but also taken a step toward a more sustainable lifestyle. Enjoy your DIY journey and keep exploring new creative projects
You may also like:How to maintain your canvas beach tote bag
Products Recommend
-
-
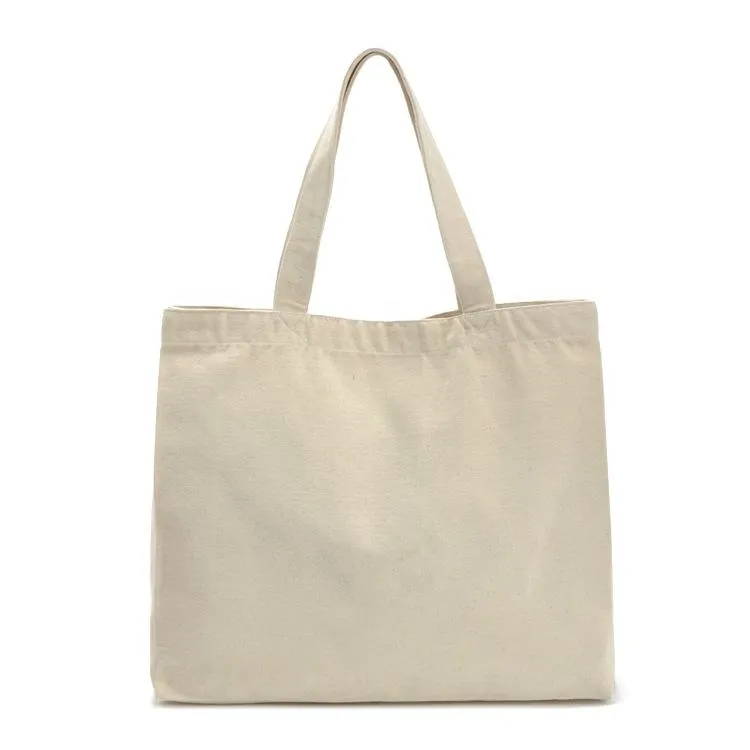
Blank tote canvas shopping bag
Learn More -
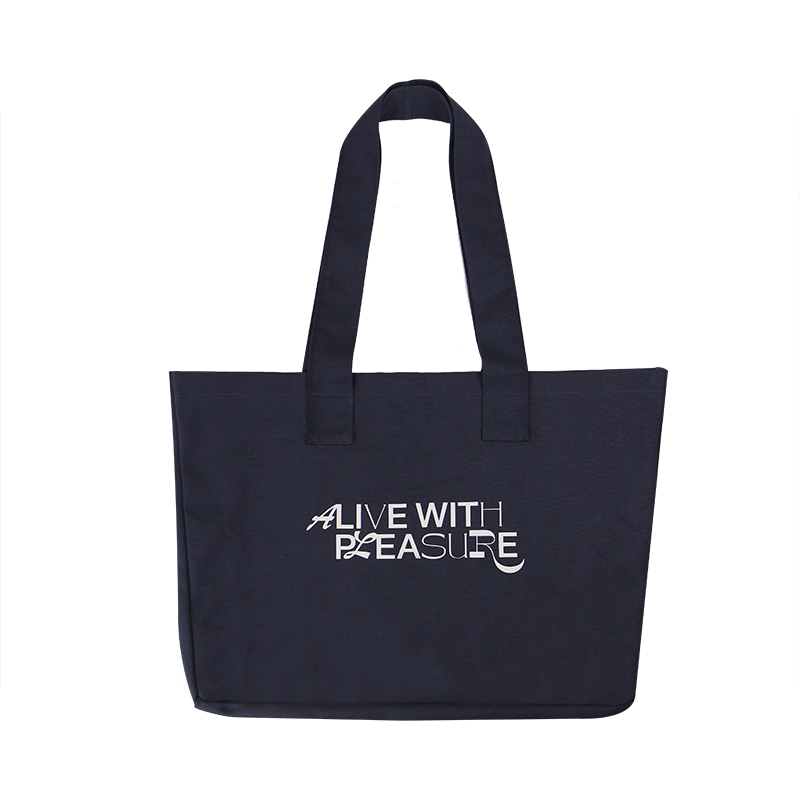
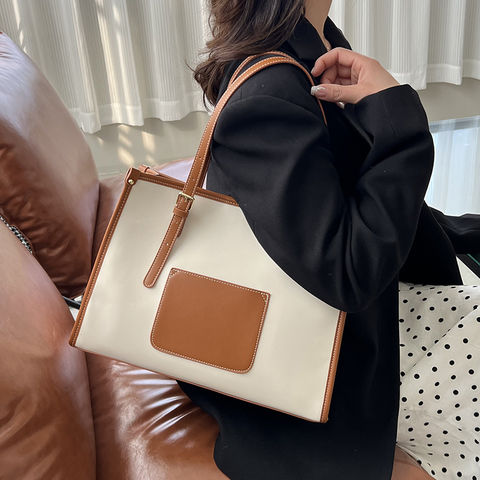
Custom logo canvas handle tote bag
Learn More -
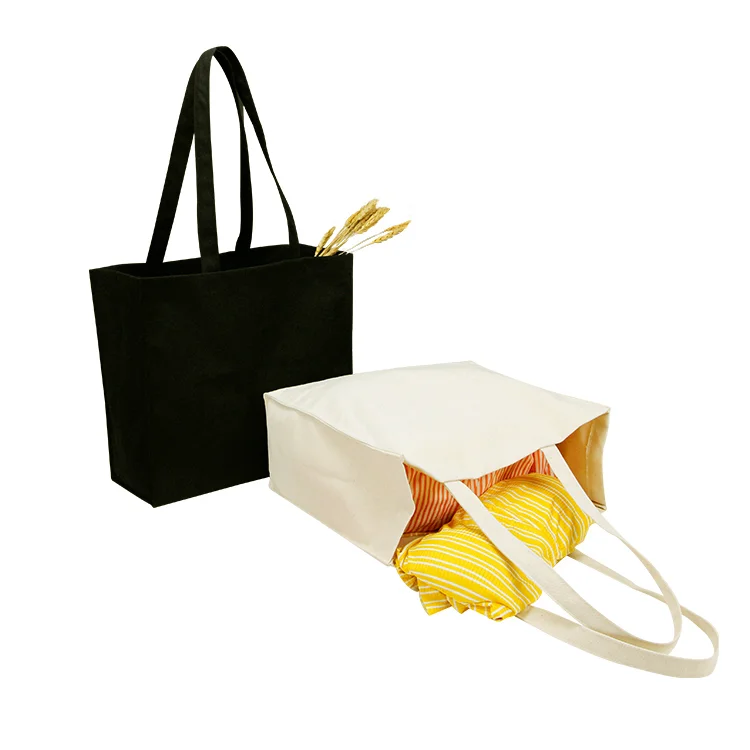
Canvas tote bags
Learn More -
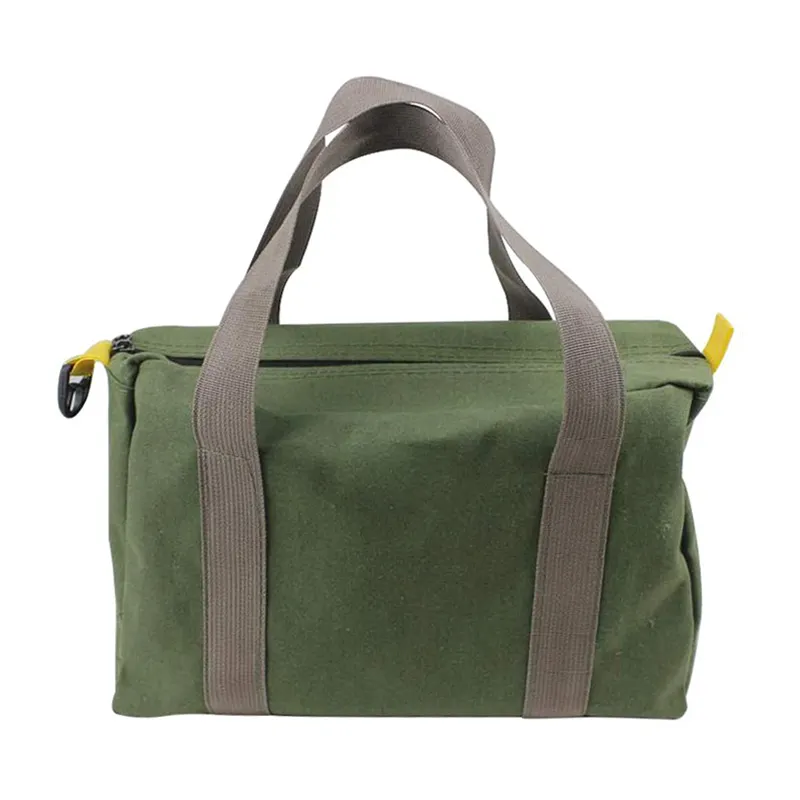
Wholesale custom logo canvas large electrician zipper tool tote bag
Learn More
News Recommend
-
-
-
-

-
-
-
-

-
-
The ultimate guide to tote bags: finding the perfect style and material for you
Dec.24.2024 Learn More