DIY custom canvas tote bags: A complete tutorial
186
If you’ve ever wanted to create a tote bag that’s uniquely yours—whether as a personal accessory, a heartfelt gift, or even a small business product—you’re in the right place. I’ve spent years experimenting with DIY canvas tote bags, and today, I’m sharing my step-by-step process, complete with tips, tricks, and lessons learned from my own mistakes. This guide is designed for beginners, so I’ll break down every detail you need to know, from choosing materials to avoiding common pitfalls. Let’s dive in!
1. Why DIY a Canvas Tote Bag?
Before we get into the how, let’s talk about the why. Canvas tote bags are durable, eco-friendly, and endlessly customizable. They’re perfect for groceries, beach trips, or everyday use, and creating your own allows you to:
Express your creativity: Turn a blank canvas into a wearable work of art.
Save money: Store-bought custom totes can cost $20–50+; DIY versions are often cheaper.
Reduce waste: Repurpose old fabric or use sustainable materials.
Personalize gifts: Handmade bags add a thoughtful touch.
But let’s be real—DIY projects can be intimidating if you’re new to crafting. That’s why I’ll walk you through every step, including the tiny details most tutorials skip.
2. Materials You’ll Need
First, gather your supplies. Here’s my tried-and-tested list:
Essential Tools
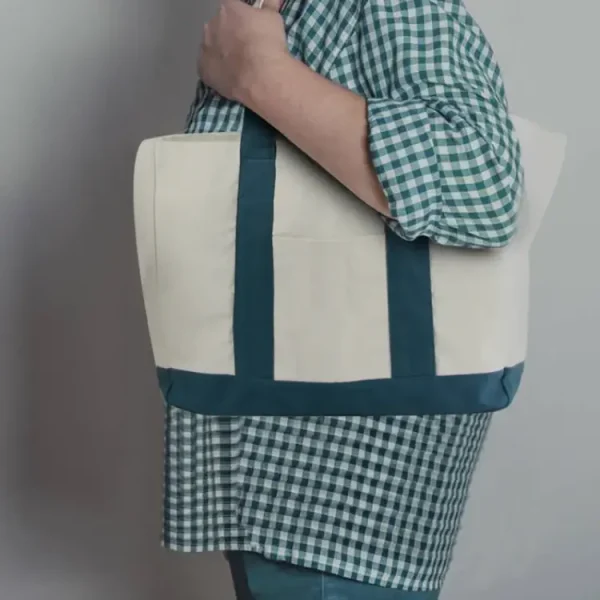
Plain canvas tote bag: Opt for 100% cotton (8–12 oz weight) for durability. Avoid blends—they don’t hold paint as well.
(Tip: Buy unbleached bags for a rustic look or white for vibrant designs.)
Fabric paint or ink:
Acrylic fabric paint (e.g., Jacquard or Tulip): Affordable and easy for beginners.
Screen printing ink: Ideal for crisp, professional designs.
Fabric markers: Great for detailed line work.
Brushes and tools:
Flat and round brushes (sizes 2–8).
Sponge brushes for stenciling.
A brayer (roller) if screen printing.
Stencils or freezer paper: For precise designs.
Painter’s tape: To mask off areas.
Iron and parchment paper: For heat-setting designs.
Drop cloth or cardboard: To protect your workspace.
Optional (But Helpful) Extras
Textile medium: Mix with acrylic paint to improve flexibility.
Fabric primer: Helps paint adhere better to thick canvas.
Embroidery thread and needles: For adding texture.
Heat transfer vinyl (HTV): For machine-cut designs.
3. Prepping Your Canvas Tote Bag
Skip this step, and your design might crack or fade! Proper prep ensures longevity.
Step 1: Wash and Dry
New canvas totes often have sizing (a starch coating) that repels paint. Throw the bag in the washing machine (no detergent) and let it air dry. Do not skip drying—ironing a damp bag can shrink it!
Step 2: Iron It Flat
Wrinkles = uneven paint. Set your iron to high heat (no steam) and press both sides of the tote. Slide a piece of cardboard inside to protect the back layer.
Step 3: Stabilize the Surface
If painting freehand, slip a plastic sheet or cardboard inside the bag to prevent bleed-through. Tape it in place with painter’s tape.
4. Designing Your Tote Bag
This is where the fun begins! Let’s explore three beginner-friendly methods.
Method 1: Hand-Painting (Freehand or Stencils)
Best for: Artistic designs, brushstroke textures, or simple shapes.
Step 1: Sketch Your Design
Use a pencil or water-soluble fabric marker to lightly outline your design.
Pro tip: If you mess up, dab the mark with a wet cloth—it’ll disappear!
Step 2: Paint in Layers
Thin your paint: Mix fabric paint with textile medium (1:1 ratio) to prevent stiffness.
Start with light colors: Build up to darker shades.
Let each layer dry: Use a hairdryer on low heat to speed things up.
Common Mistake: Using too much paint. Thick layers crack over time!
Step 3: Add Details
Swap to smaller brushes or fabric markers for fine lines.
Step 4: Heat-Set the Paint
Once dry, cover the design with parchment paper and iron it for 3–5 minutes (medium heat). This bonds the paint to the fabric.
(Note: Skip this step if using heat-transfer vinyl!)

Method 2: Screen Printing
Best for: Bold, graphic designs or repeat patterns.
Step 1: Create a Screen
Buy a pre-made screen or make your own with embroidery hoops and sheer fabric.
Use screen printing ink and a squeegee to push ink through the stencil.
Step 2: Align the Screen
Tape the screen to the tote bag to prevent shifting.
Step 3: Print in One Motion
Pull the squeegee firmly across the screen. Lift carefully to avoid smudging.
Pro Tip: Practice on scrap fabric first—screen printing requires even pressure!
Method 3: Heat Transfer Vinyl (HTV)
Best for: Crisp, professional-looking designs without painting.
Step 1: Cut Your Design
Use a Cricut or Silhouette machine to cut HTV into your desired shape.
Step 2: Weed Excess Vinyl
Remove the parts of the design you don’t want (this is called “weeding”).
Step 3: Press with Heat
Follow the HTV manufacturer’s instructions for temperature and time. Too much heat can scorch the fabric!
5. Adding Extra Flair
Want to take your tote to the next level? Try these ideas:
Embroidery: Stitch over painted designs for texture.
Patches: Iron or sew on pre-made patches.
Fringe or Pom-Poms: Glue trim to the edges.
Fabric Stamps: Carve your own stamp from potatoes or linoleum blocks.
6. Fixing Mistakes (Because They Happen!)
Even pros make errors. Here’s how to salvage your project:
Paint bleed? Let it dry, then paint over it with a matching color.
Smudged ink? Dab with rubbing alcohol (test first!).
Uneven HTV? Reheat and press again.
7. Caring for Your DIY Tote Bag
To ensure your design lasts:
Wait 72 hours before washing. Let the paint fully cure.
Hand-wash in cold water with mild detergent.
Air dry—dryers can crack paint or melt HTV.
Store flat to avoid creases.
8.FAQs
Q: Why did my paint crack?
A: You likely used too much paint or didn’t mix it with a textile medium. Thick layers of paint are prone to cracking over time, especially after the bag is washed.
Q: Can I use regular acrylic paint?
A: Yes, but only if you mix it with a textile medium. Without the medium, regular acrylic paint will flake off after washing.
Q: How do I stop stencils from slipping?
A: Spray the back of the stencil with temporary adhesive (like 505 Spray). This will keep the stencil in place as you paint, ensuring cleaner edges.
Q: What if my design smudges during the process?
A: If your design smudges while painting or printing, let it dry completely before fixing it. For minor smudges, you can use rubbing alcohol to gently remove the excess ink or paint. Test first on a small area to avoid further damage.
Q: How can I make my tote bag design more durable?
A: After finishing your design, always heat-set it according to the manufacturer’s instructions. This step helps prevent fading and makes the design more resistant to wear and tear. Additionally, hand-washing in cold water is gentler than machine washing.
Q: My heat transfer vinyl (HTV) isn’t sticking properly. What should I do?
A: Ensure that the fabric is clean and free of any dirt or oils. Double-check the temperature settings for your heat press or iron—HTV requires a specific temperature and pressure to adhere properly. If it’s still not sticking, re-press it for a few more seconds.
Q: Can I use multiple methods to decorate my tote bag?
A: Absolutely! Feel free to combine hand-painting, screen printing, and heat transfer vinyl for a more complex, layered design. Just ensure each layer is dry before applying another to avoid smudging or blending.
Q: How can I prevent my tote bag from becoming stiff after painting?
A: Use a textile medium to mix with your fabric paint. This will make the paint more flexible and prevent it from becoming stiff. Also, don’t apply too many thick layers of paint—this can make the fabric feel rigid.
Q: Can I wash my tote bag after decorating it right away?
A: It’s recommended to wait at least 72 hours for the design to fully cure before washing it. Washing too soon can cause the paint or HTV to lift or fade.
Products Recommend
-
-
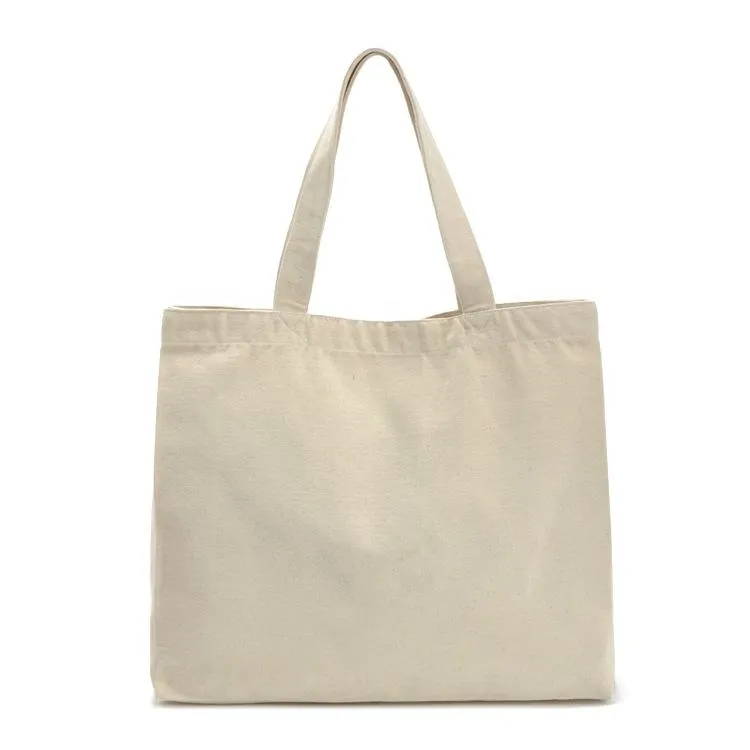
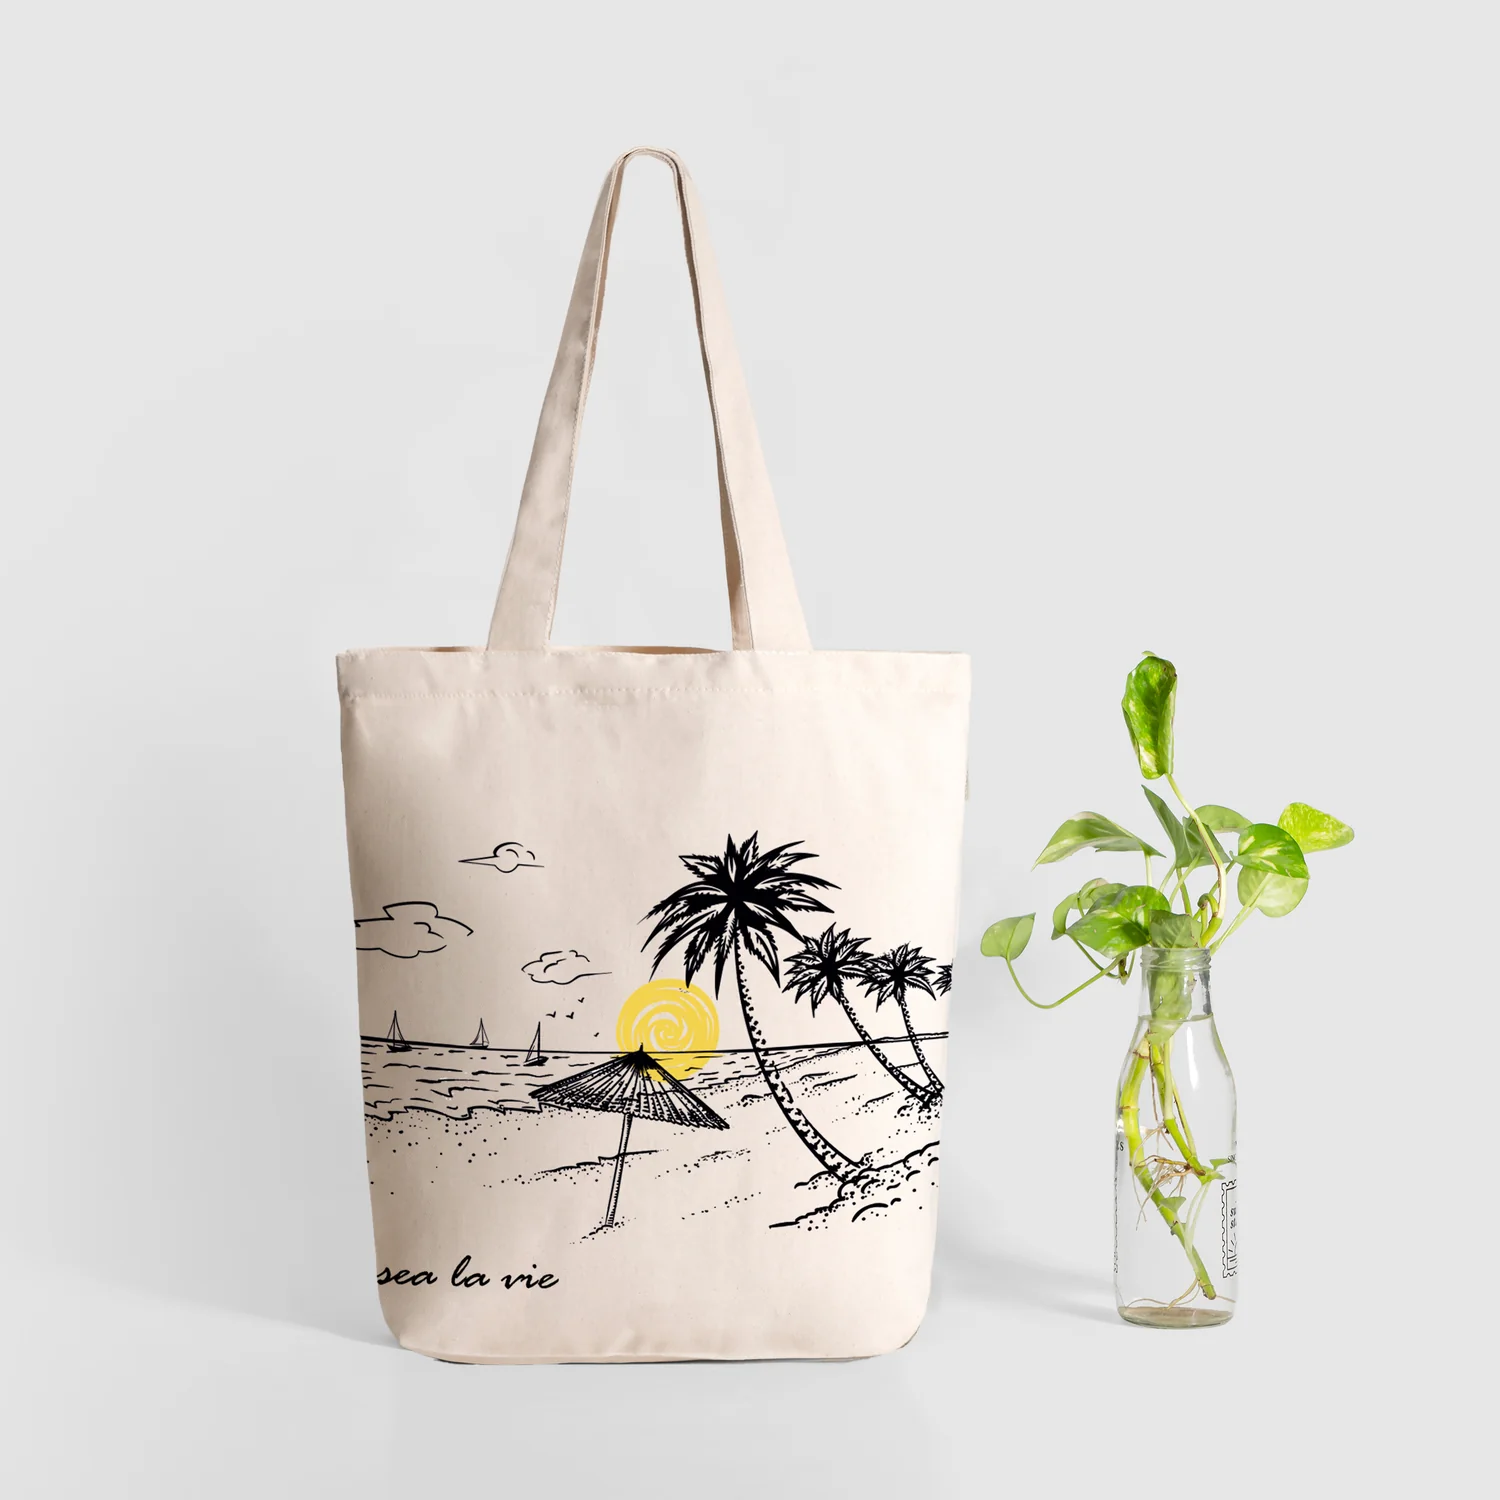
Blank tote canvas shopping bag
Learn More -
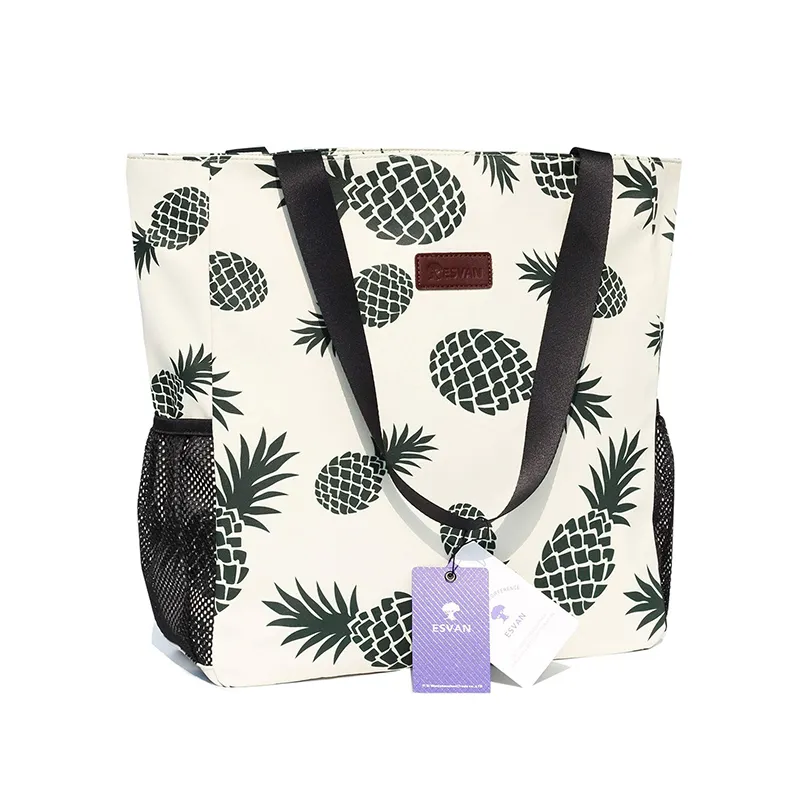
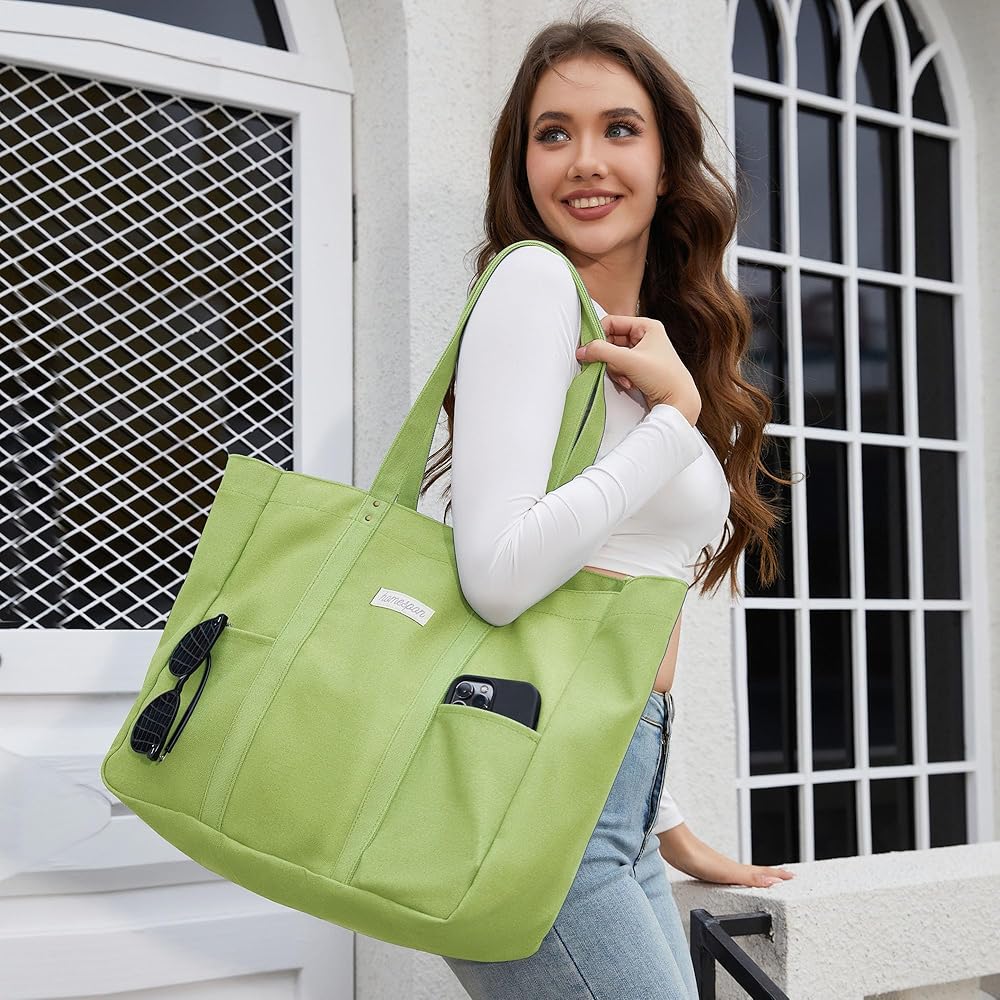
Polyester waterproof beach tote bag
Learn More -
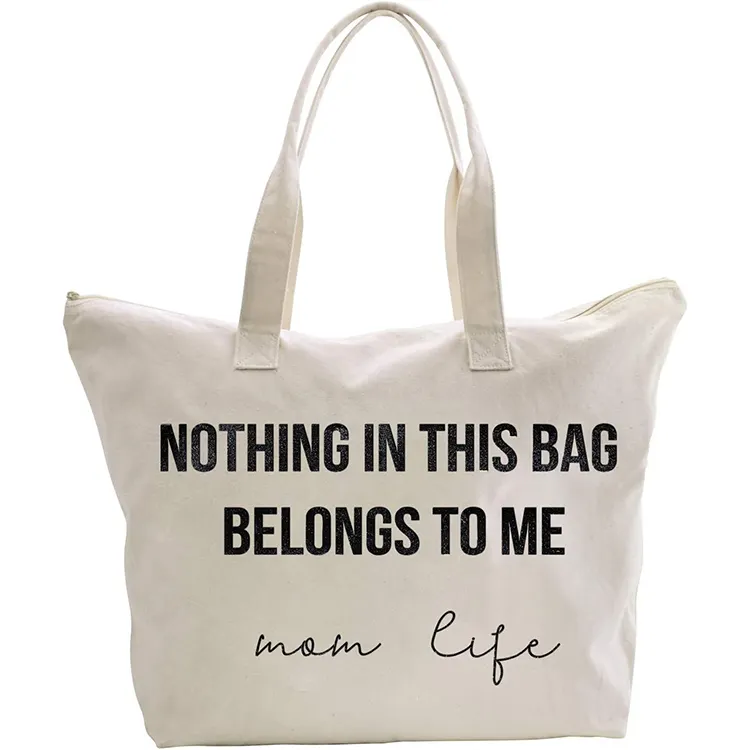
Canvas beach hand tote bag
Learn More -
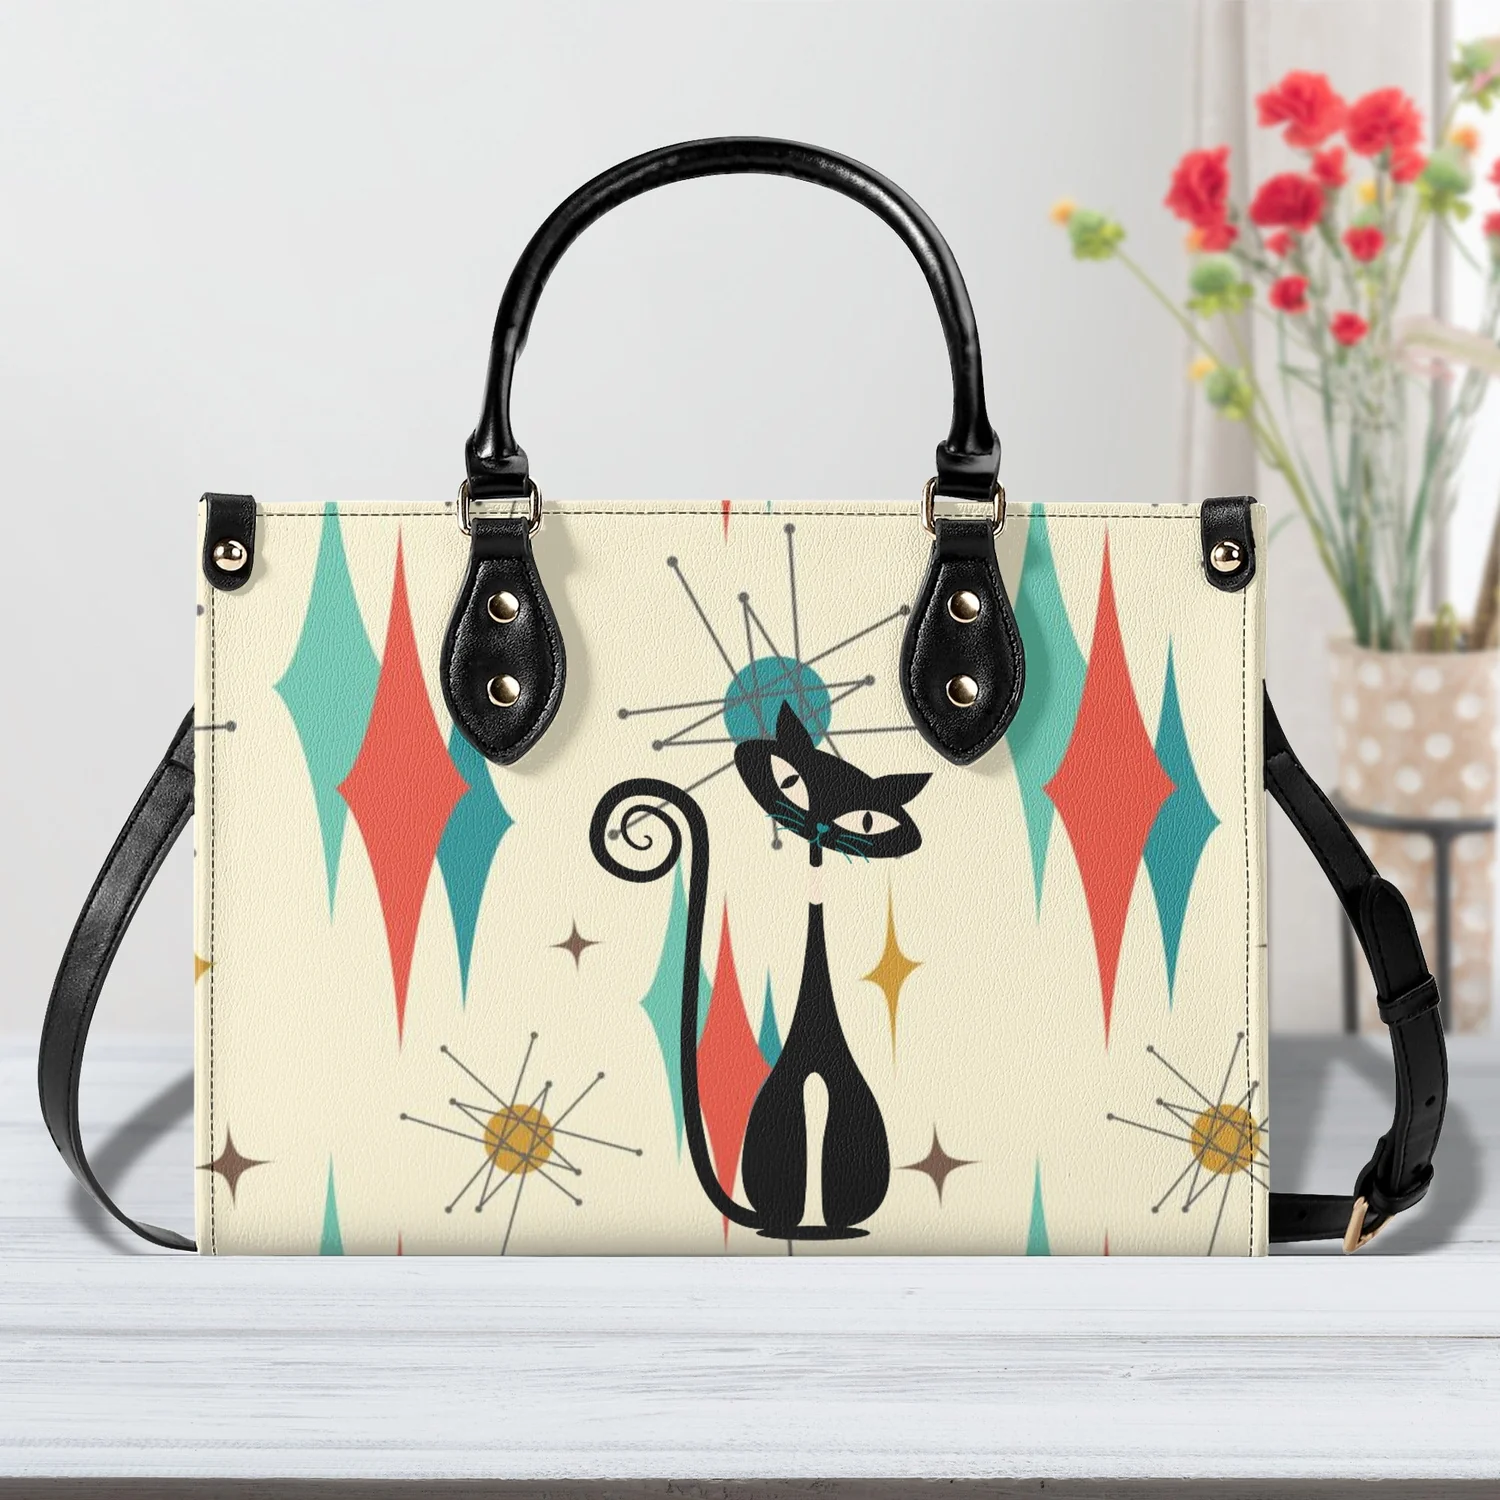
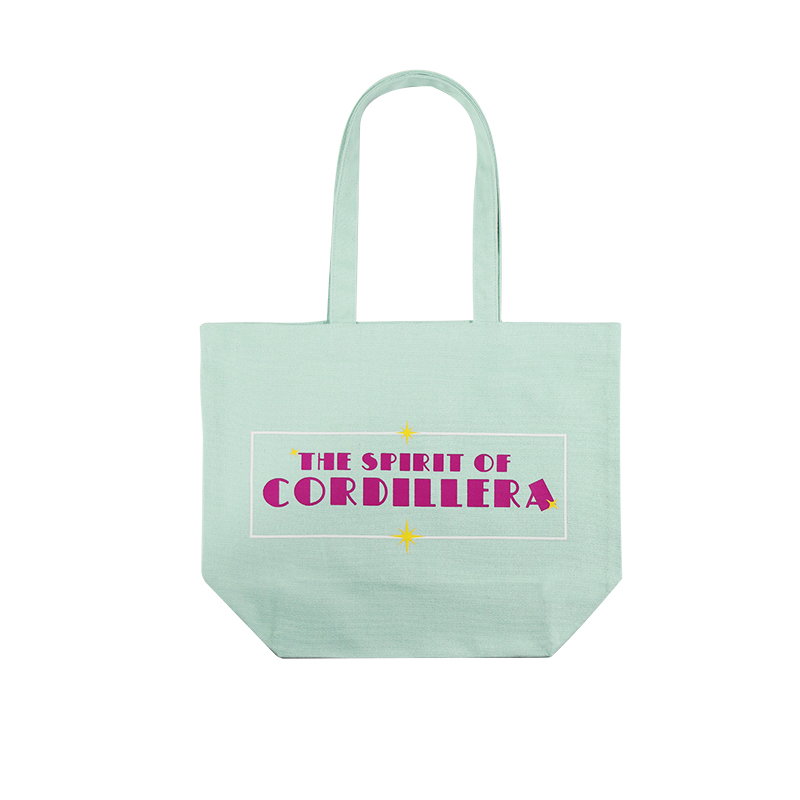
Canvas tote bags
Learn More